
Crafting pueblo pottery is an art that has adapted to find a within modern times. Yet, today’s pottery crafting methods have changed little from the traditional techniques used by pueblo potters for hundreds of years. In this week’s blog, we share the very basics of crafting pueblo pottery.
Pueblo Pottery Technique
Each pueblo and pueblo potter has their own technique they use to make pottery, which results in a characteristic style. However, the basic process follows much the same path:
Preparation
The clay for the pots is collected by hand from a quarry. Once collected, it is laid out in the sun for several days to dry. The dried clay is placed into a vessel and covered with water. Once wet, the mixture of water and clay are passed through a sieve to separate any impurities or stones. The resulting mixture is allowed to rest for several days before a tempering agent such as volcanic tuff is added. This will help prevent shrinking or cracking later in the process.
Modeling
The first thing to be created is the base of the pot. The base starts as a handful of clay that is turned, scraped, molded and shaped using added moisture and a shaping spoon or kajape (usually made from a gourd). Coils of clay are then added to the base and shaped into the basic desired shape. The resulting pot is left to cure for several days before the walls are scraped again.
Pinch pots do not follow the same process. To create a pinch pot, a ball of clay is shaped into a vessel by pinching the sides to shape and thin them until the desired structure is created.
Finishing
The unfinished clay pot is left to dry for several more days after the final scraping. The potter uses sandpaper to sand the pot, then uses a wet cloth to smooth the surface and fill in any scratches. A “slip”, or a suspension of clay in water, is applied to the surface with a brush or cloth.
The potter then burnishes the pot with a polishing stone, followed by a thin coat of oil or grease, which is further polished into the pot.
Decorating
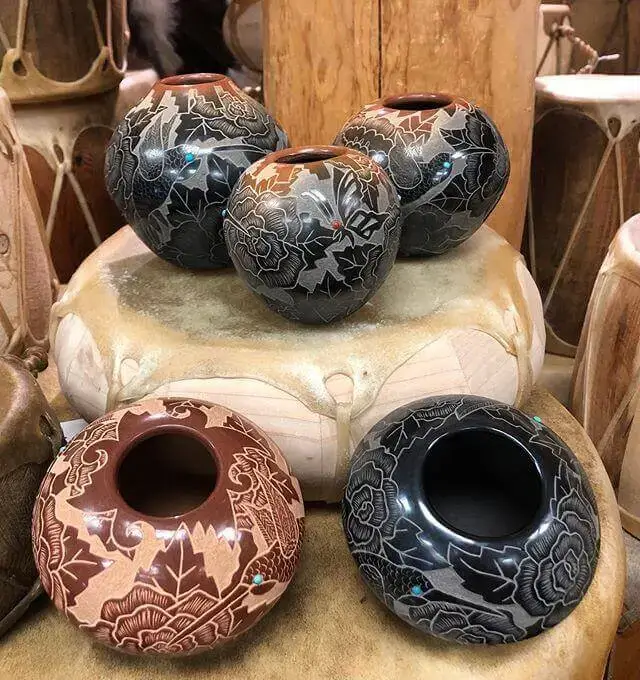
The potter mixes the thin paint or coloring themselves, and applies it him- or herself. Other decorating techniques include carving, incising and impressing a design into the pot.
Firing
Firing is the next, and often most difficult, step. The pot is put into a very hot oven or kiln and surrounded with combustible material, which is then set alight. If a pot has not dried correctly or the clay contains air pockets, it could shatter.
The process for black-on-black San Ildefonso pottery is different. A powdered substance that will keep oxygen from reaching the pot is applied, which will result in soot joining with the clay during the firing. The result is a black pot.
As we mentioned above, each potter and pueblo uses variations in technique at different steps of the process to create a characteristic style. But no matter what, the construction of pottery is time-consuming and exacting work. The result is a beautiful and unique hand-made piece, and you can see examples of these pieces at Palms Trading Company and on our website!